Proper lighting is crucial for enhancing the gameplay experience on a pool table. Not only does it improve visibility, but it also adds an aesthetic touch to your game room. This guide will help you achieve the optimal heights for pool table lights and provide a step-by-step installation process.
Optimal Height for Pool Table Lights
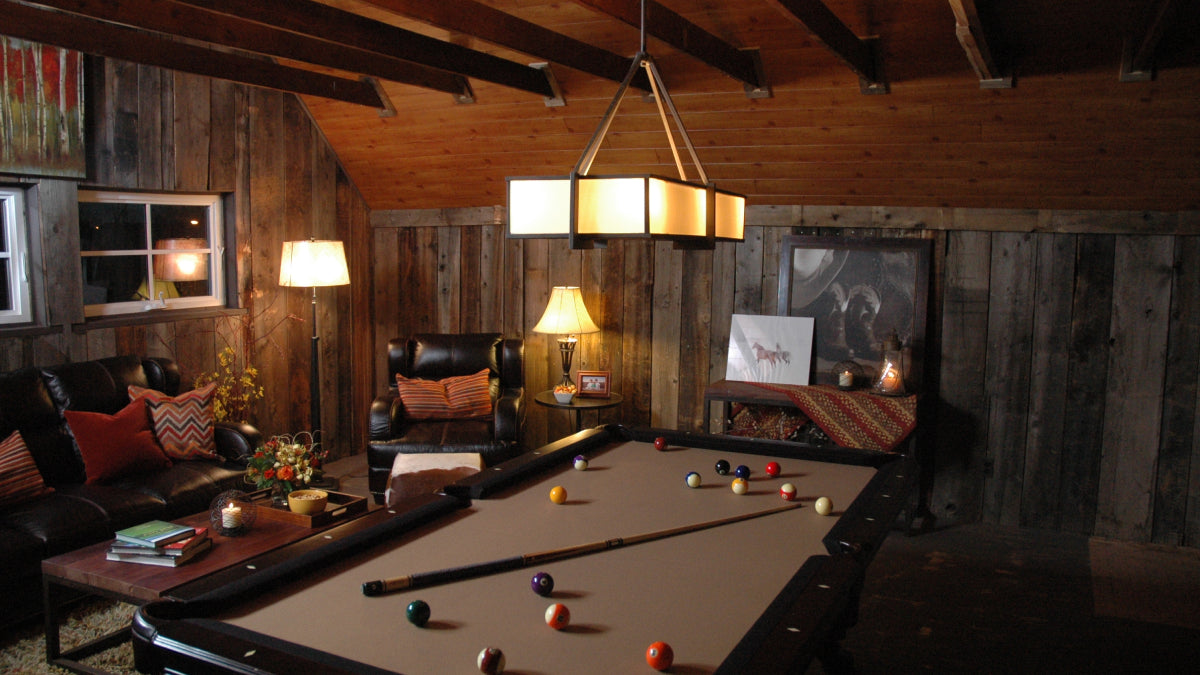
The ideal height for hanging pool table lights is typically between 30 to 36 inches above the playing surface. However, some guidelines suggest that lights should not exceed 40 inches from the slate bed of the table. This height ensures that players can see the table clearly without obstructing their view or risking contact with the cue stick.
Here’s a breakdown of recommended heights based on pool table sizes:
| Pool Table Size | Light Height Over Pool Table |
|---|---|
| 7’ | 30” to 36” |
| 8’ | 30” to 36” |
| 9’ | 31” to 40” |
| 10’ | 33” to 40” |
| 12’ | 33” to 40” |
When measuring, ensure that the bottom of the light fixture is approximately 60 to 66 inches from the floor, aligning with the average player's nose level when standing straight.
Installation Steps
Installing a pool table light may seem daunting, but with the right tools and guidance, it can be a manageable DIY project. Follow these steps for a successful installation:
-
Choose the Right Fixture
Select a light fixture that complements your game room decor while providing adequate illumination for your pool table. -
Gather Your Tools
You will need:- Ladder
- Stud finder
- Pencil
- Drill
- Screwdrivers
- Tape measure
- Wire strippers
- Wire connectors
- Safety glasses
-
Find the Center of the Table
Measure and mark the exact center of your pool table on the ceiling. This will serve as your reference point for hanging the light. -
Locate Ceiling Joists
Use a stud finder to locate a ceiling joist near your marked center point. If necessary, you can adjust the light's position using swag hooks and chains. -
Install Electrical Box
Turn off power at the fuse box for safety. Install an electrical box at the joist location according to local electrical codes. -
Prepare Your Light Fixture
Attach any necessary chains or components to your light fixture before mounting. -
Hang the Fixture
Climb your ladder and thread the fixture's wires through the swag hook. Connect these wires to your house wiring in the electrical box using wire connectors, ensuring all connections are secure. -
Adjust Light Height
Adjust the chain so that the bottom of the light is about 30 to 36 inches above the table surface. -
Test Your Light
Restore power at the fuse box and test your new light fixture. If it doesn’t work, double-check all connections and ensure bulbs are functioning properly.
Additional Tips
- Centering is Key: Ensure your light fixture is centered over the table for even illumination.
- Consider Chain Angles: If using chains, maintain a 45-degree angle for stability; this prevents undue stress on connections.
- Select Appropriate Bulbs: Fluorescent or LED bulbs are preferred for their longevity and even lighting, while incandescent bulbs may produce excess heat and require more frequent replacement.
By following these guidelines, you can enhance both your gameplay experience and your game room's ambiance with properly installed pool table lighting. If you're unsure about any part of this process, particularly electrical work, consulting a professional electrician is always advisable. Happy gaming!
0 comments