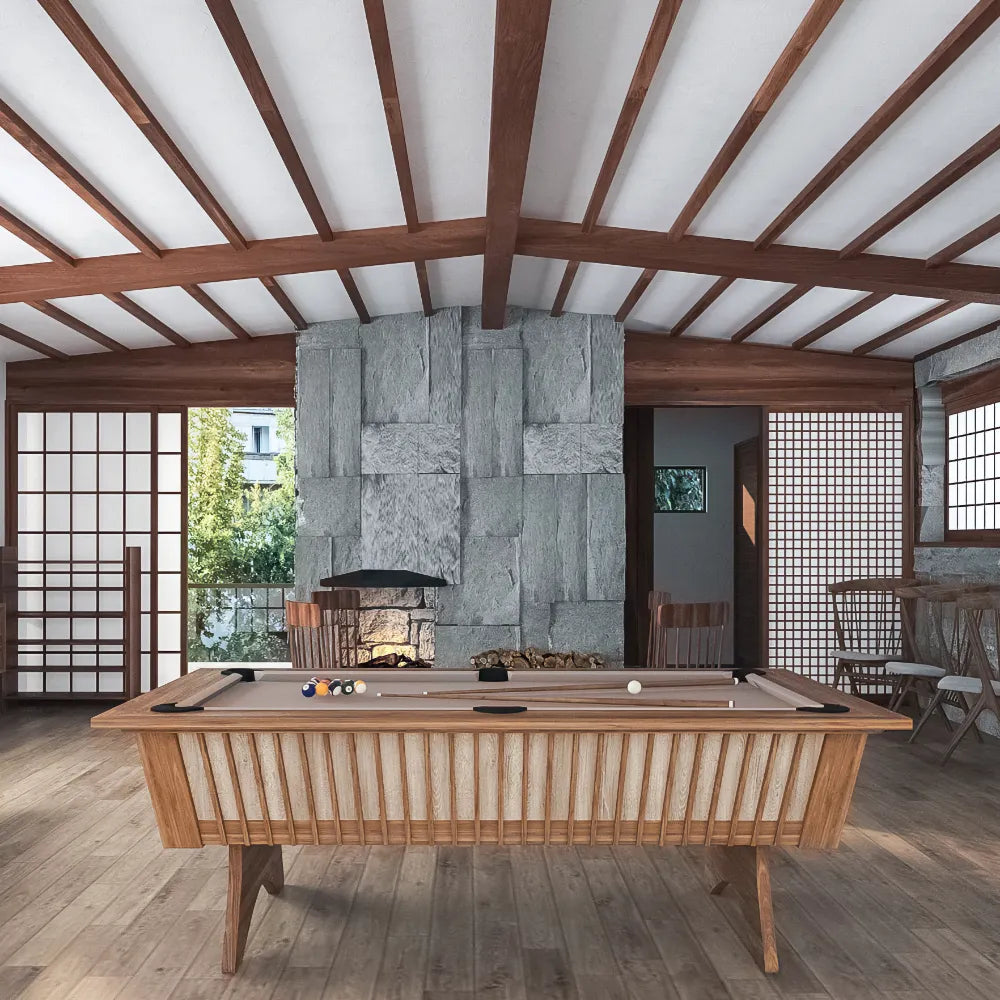
Upcycling an old pool table is a rewarding project that not only saves you money but also allows you to create a unique piece of furniture that fits your style and needs. Whether you're looking to refurbish a worn-out table or transform it into something entirely new, this guide will walk you through the process.
Materials Needed
- Old pool table
- Sandpaper (various grits)
- Wood stain or paint
- New felt (color of your choice)
- Pool table accessories (cushions, pockets, etc.)
- Tools: screwdriver, utility knife, staple gun, drill, clamps
- Optional: new legs or custom features (if desired)
Step 1: Assess the Condition of Your Pool Table
Before starting the upcycling process, evaluate the condition of your old pool table. Check the following:
- Slate Surface: Ensure it is intact and level. If the slate is damaged, consider replacing it.
- Wood Frame: Look for any signs of rot or damage. Minor scratches can be sanded down, while major damage may require replacement.
- Rails and Pockets: Inspect the rails and pockets for wear and tear. You may need to replace or refurbish these parts.
Step 2: Disassemble the Table
Carefully disassemble the pool table to access all components:
- Remove the Rails: Unscrew the rails from the table. Keep the screws in a labeled bag for easy reassembly.
- Take Off the Felt: Use a utility knife to cut away the old felt. Be cautious not to damage the slate underneath.
- Remove Pockets: Detach the pockets from the table frame.
Step 3: Sand and Prepare the Surface
Once disassembled, it's time to prepare the wood surfaces:
- Sand the Frame: Use sandpaper to smooth out any rough spots on the frame and rails. Start with a coarser grit and progress to finer grits for a smooth finish.
- Clean the Slate: Wipe down the slate with a damp cloth to remove any dust or debris.
Step 4: Stain or Paint the Wood
After sanding, apply your chosen stain or paint to the wooden components:
- Stain: Apply wood stain with a brush or cloth, following the grain of the wood. Allow it to dry completely before applying a second coat if necessary.
- Paint: If you prefer a painted finish, use a high-quality paint designed for wood surfaces. Apply multiple coats as needed, allowing each coat to dry.
Step 5: Replace the Felt
Once the wood finish is complete, it’s time to re-felt the table:
- Cut New Felt: Measure the slate and cut the new felt to size, allowing extra material for wrapping around the edges.
- Attach the Felt: Lay the felt over the slate and pull it taut. Use a staple gun to secure it to the underside of the slate, ensuring it is smooth and wrinkle-free.
Step 6: Reassemble the Table
With the felt in place, reassemble the pool table:
- Reattach the Rails: Secure the rails back to the table frame using the screws you saved earlier.
- Install New Pockets: If you’re replacing the pockets, attach them according to the manufacturer’s instructions.
- Add New Legs (if applicable): If you’ve opted for new legs, attach them securely to the frame.
Step 7: Final Touches
Once the table is reassembled, add any final touches:
- Install Cushions: If you replaced the cushions, ensure they are securely attached to the rails.
- Check Levelness: Use a level to ensure the table is even. Adjust the legs if necessary.
- Accessorize: Place your pool table accessories, such as cues and balls, in designated areas for easy access.
Conclusion
Upcycling an old pool table is a fulfilling project that can breathe new life into a piece of furniture while allowing you to express your creativity. By following these steps, you can transform a worn-out table into a stunning centerpiece for your game room or living space. Enjoy your newly refurbished pool table and the countless hours of fun it will bring!
0 comments